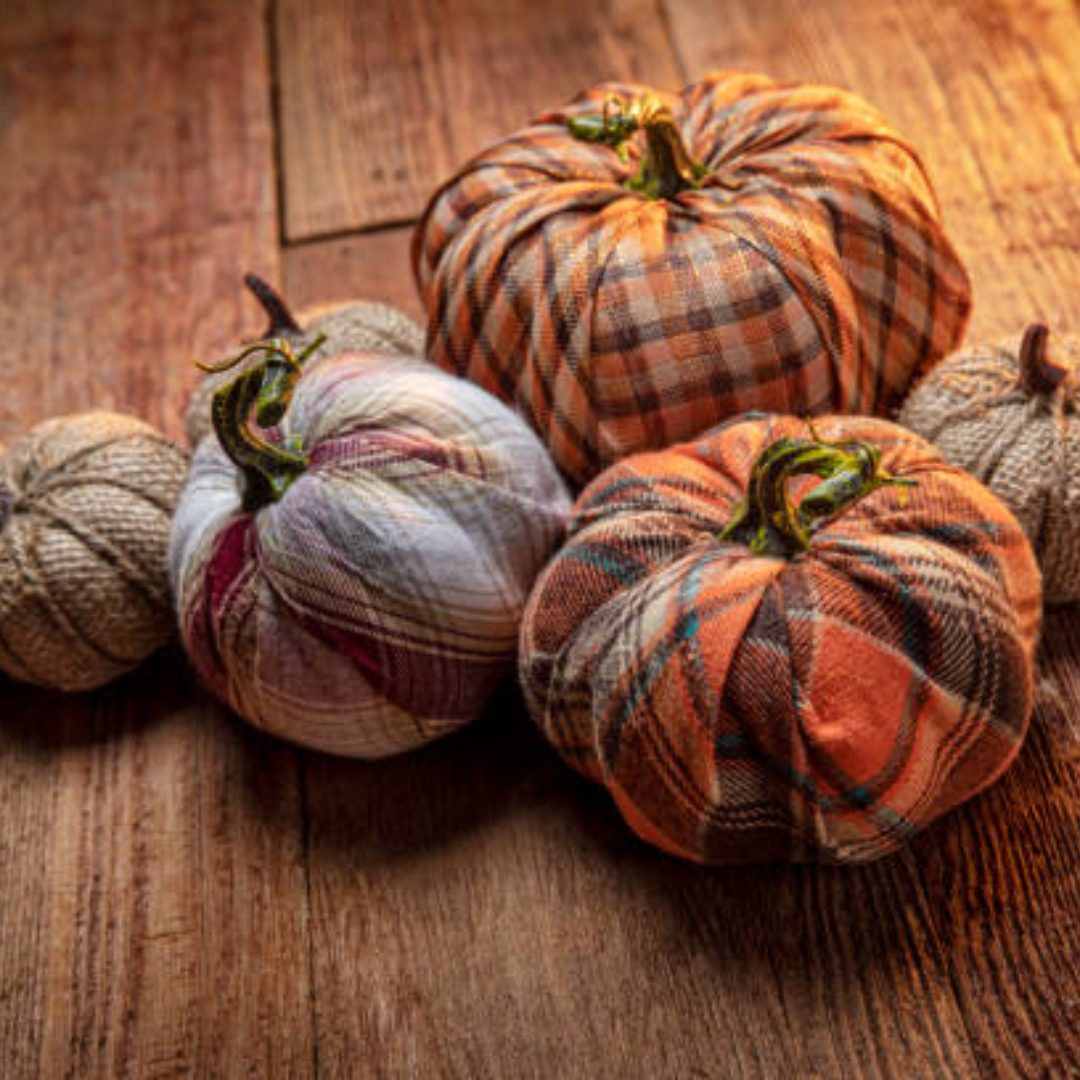
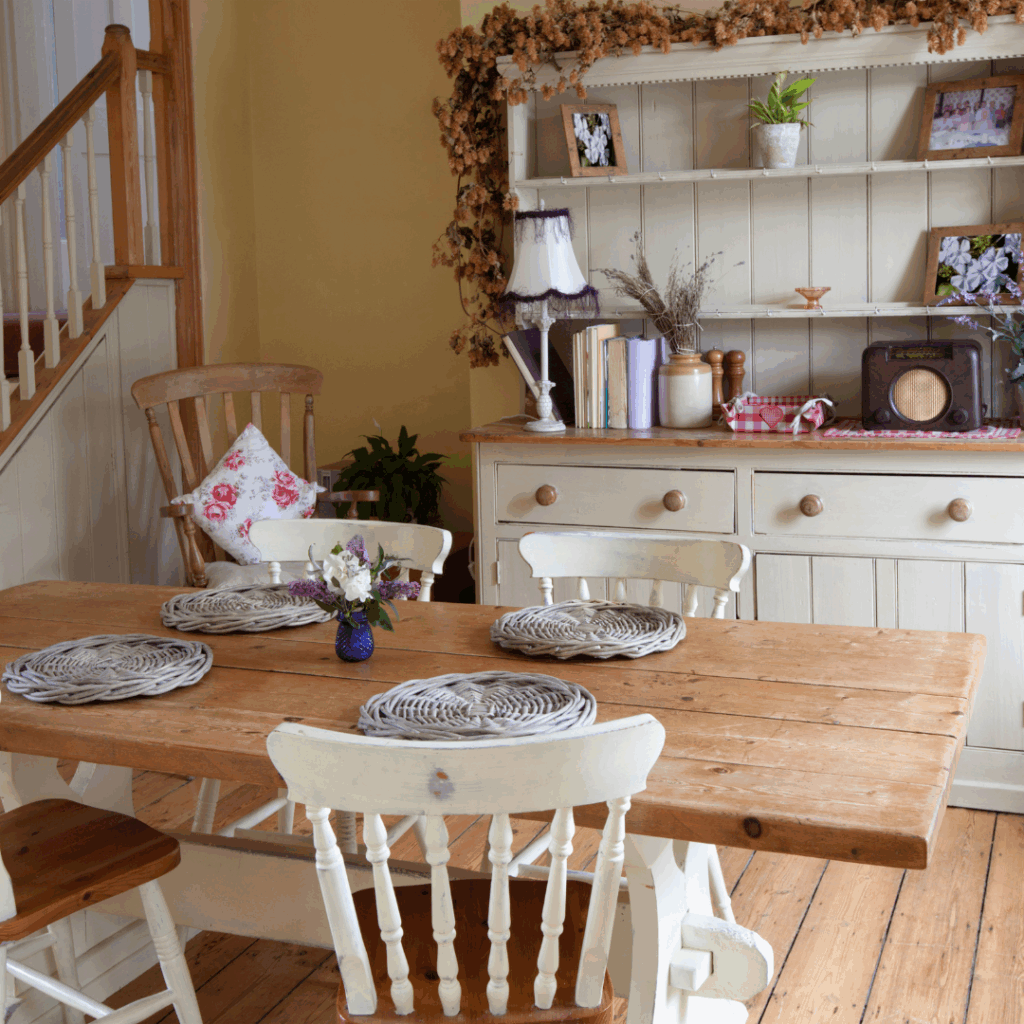
Bring a touch of warmth and country charm to your home this season with these cozy plaid fabric pumpkins. This simple DIY project transforms ordinary plastic pumpkins into beautiful rustic fall decor using homespun fabric, twine, and a few basic supplies. Perfect for farmhouse-style decorating or adding a handmade touch to your homestead this autumn.
Plaid and fall just seem made for each other. The colors, the texture, and that homespun warmth bring such an inviting feel to any space. These fabric-wrapped pumpkins are one of my favorite simple projects when the air turns crisp and the leaves start to scatter. With just a few scraps of plaid fabric and some old plastic pumpkins, you can turn something ordinary into rustic, handmade decor that feels right at home on your porch, mantel, or farmhouse table—all without spending much more than a little time and creativity.
This is a pinnable post. Tap or hover over any image in this post to pin to your Pinterest Boards.
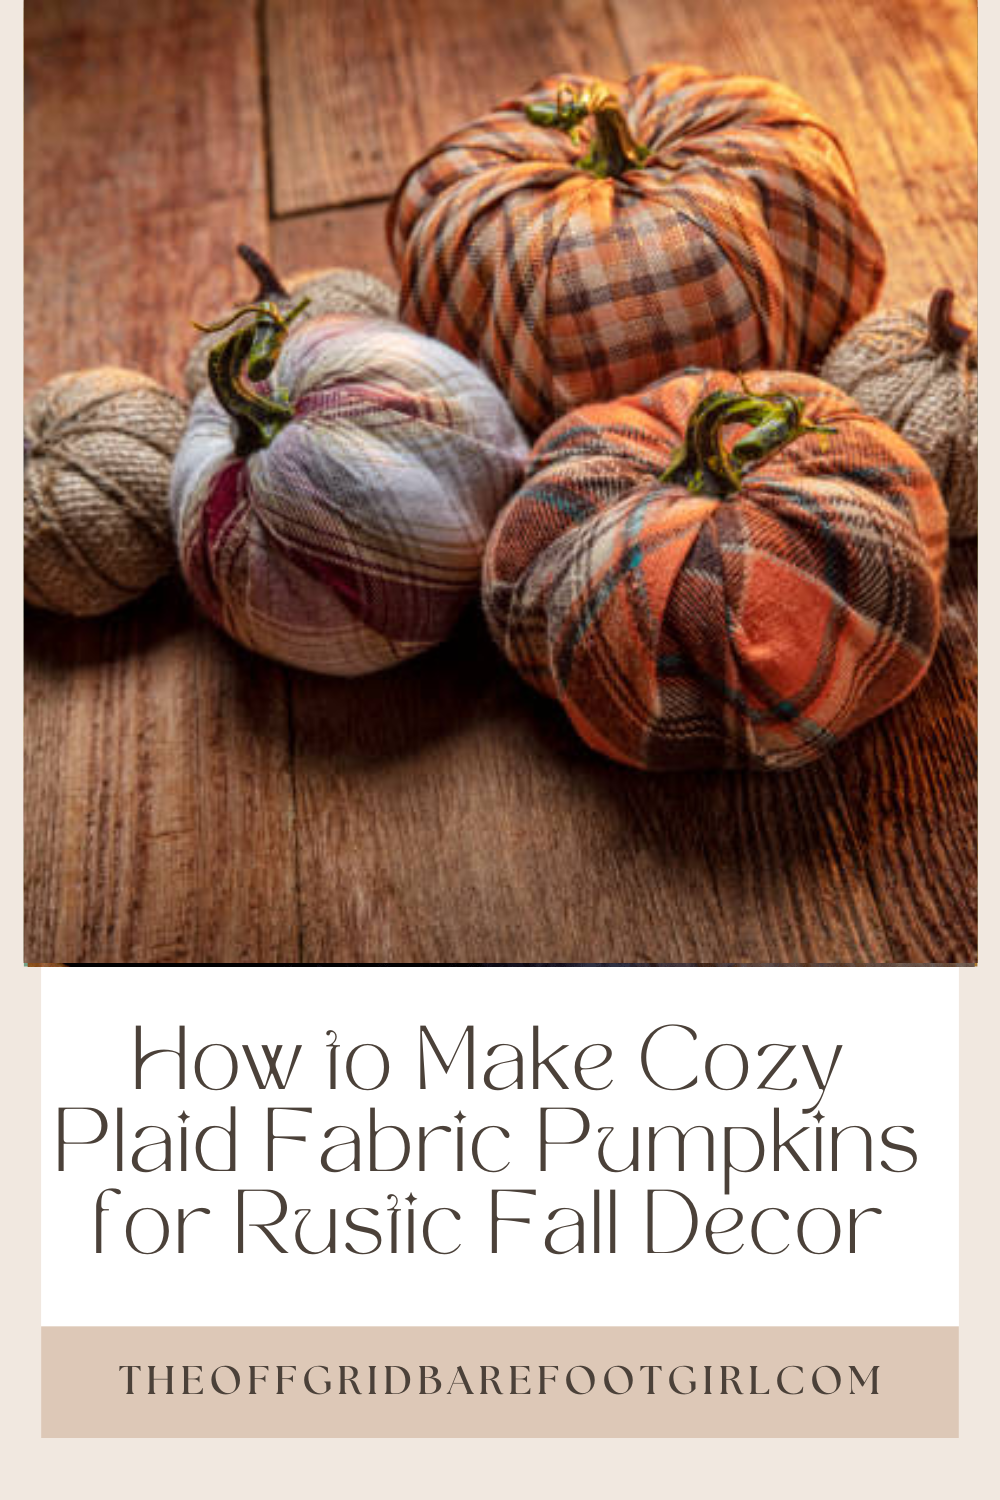
How to Make Cozy Plaid Fabric Pumpkins for Rustic Fall Decor
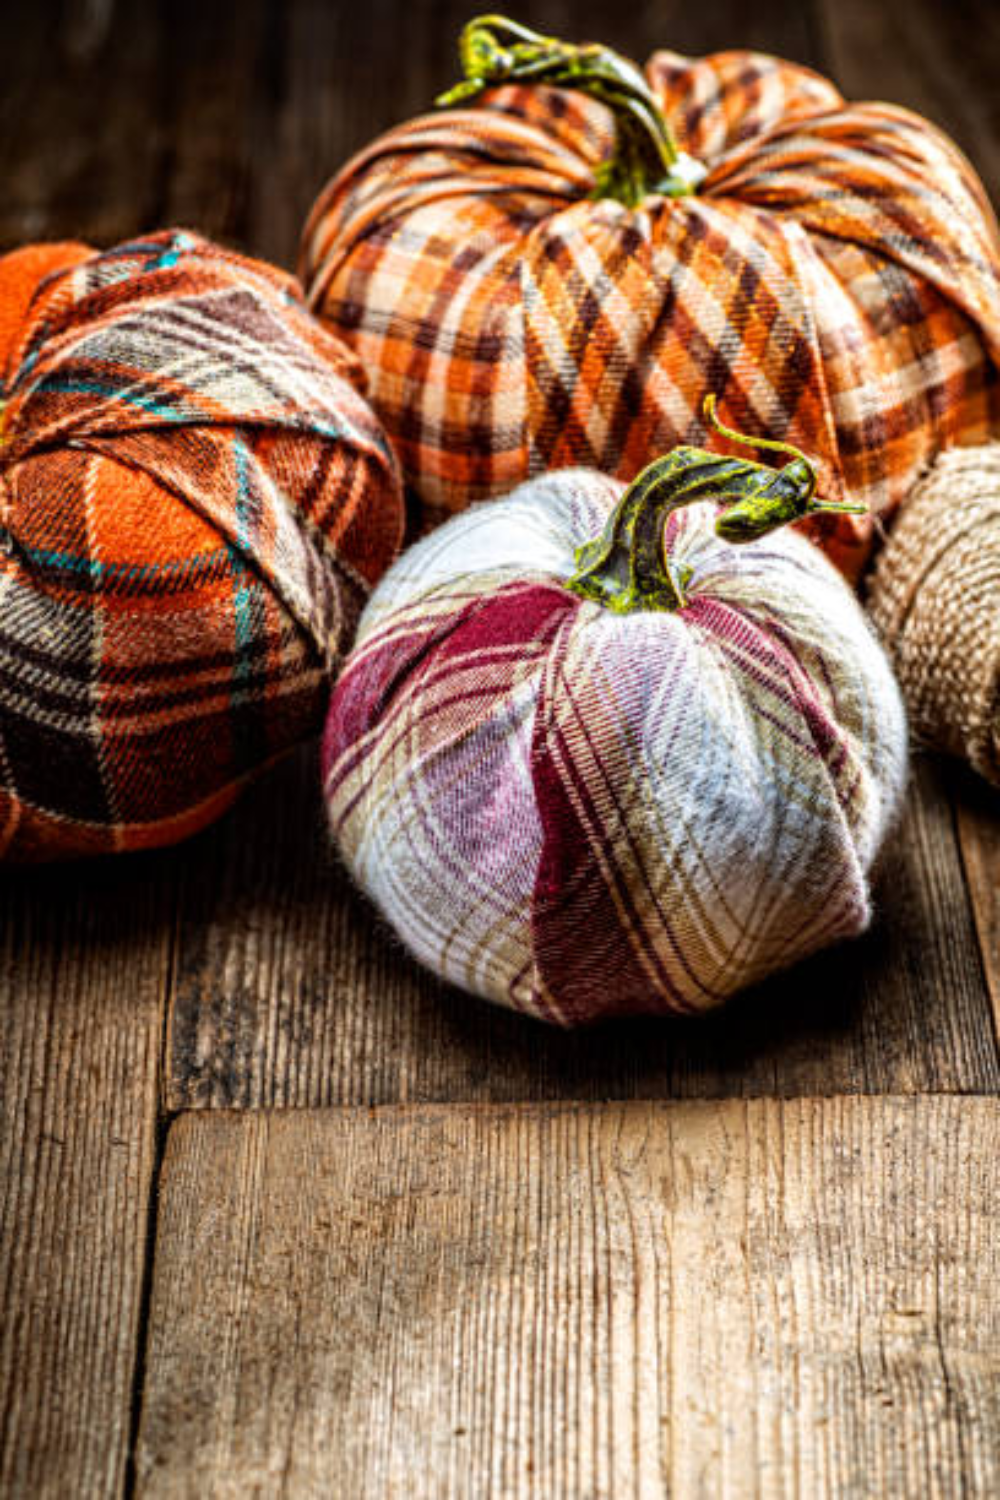
What I love most about this project is how easy it is to personalize. You can mix different plaid patterns, use flannel from an old shirt, or even paint the stems to match your color scheme. Each pumpkin turns out a little different, giving it that imperfect charm that makes handmade decor so special. Whether you’re decorating your home for fall or creating thoughtful gifts, these cozy plaid pumpkins add a welcoming touch that captures the true spirit of autumn.
What You’ll Need
- Plastic pumpkins (any size or style)
- Plaid homespun fabric (or flannel shirts you no longer wear!)
- Twine or jute string
- Ribbon (burlap, lace, or neutral tones work best)
- Scissors
- Hot glue gun and glue sticks
- Paint (optional — for the stems)
- Paintbrush or sponge
- Small knife or box cutter (for trimming the pumpkin top if needed)
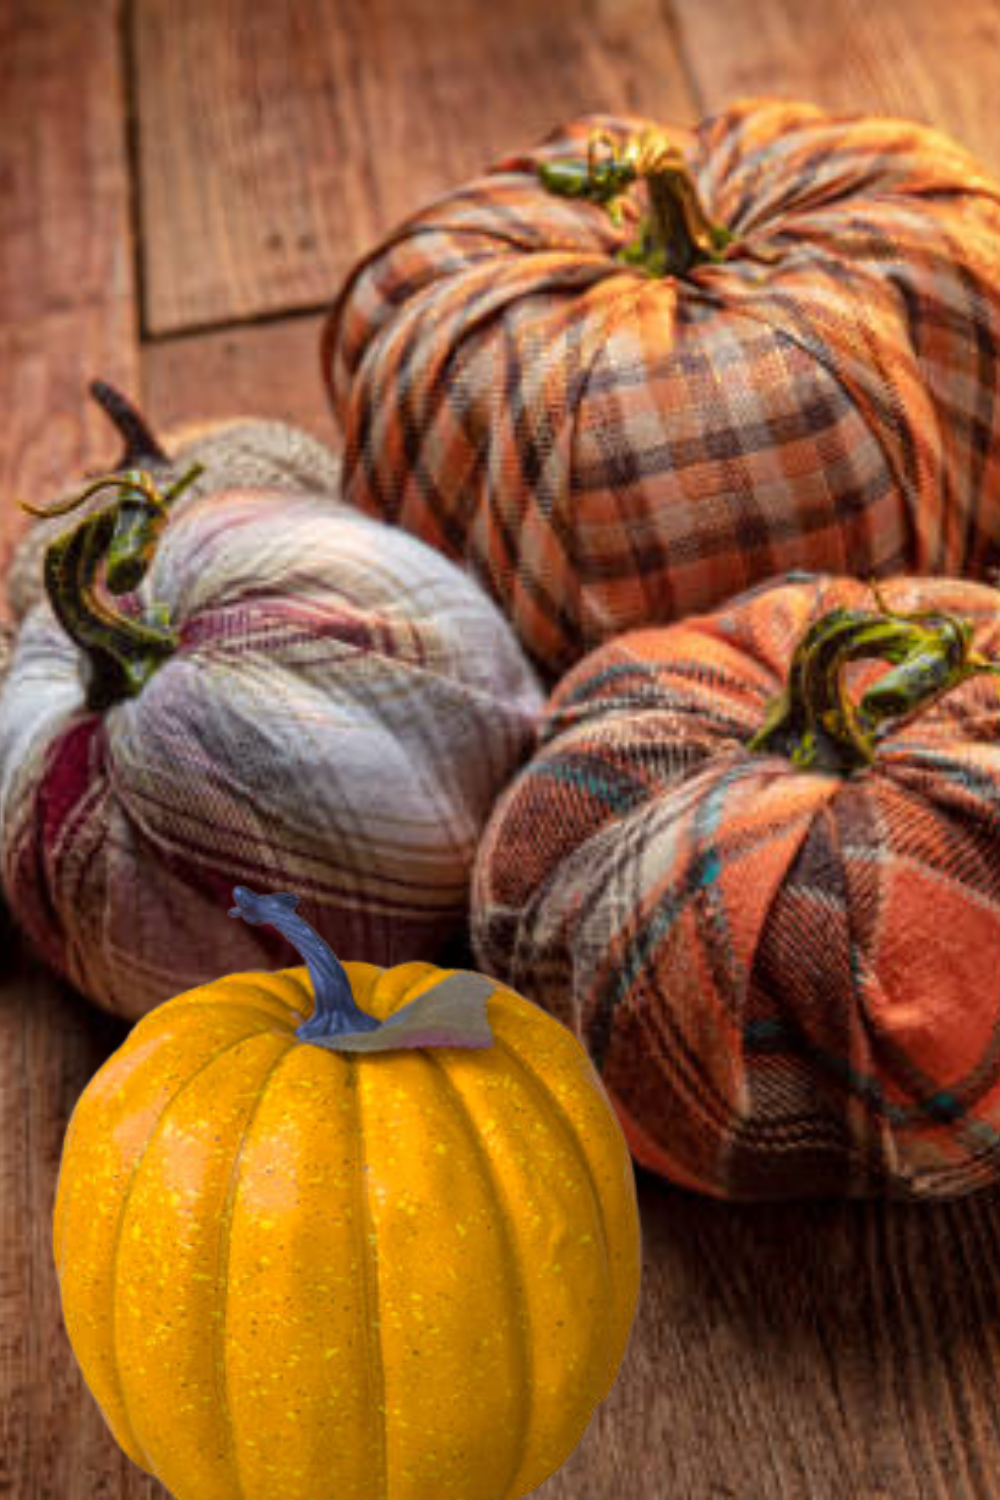
Step 1: Choose and Prepare Your Pumpkins
Start by gathering your plastic pumpkins. These can be leftover trick-or-treat buckets, dollar store finds, or even ones you’ve had for years. The great thing about using plastic pumpkins is that they already have the perfect rounded shape, so you don’t need to stuff or sew anything—just wrap and decorate.
If your pumpkins have handles or stickers, remove them. Wipe them clean to ensure the fabric adheres smoothly.
Step 2: Cut Your Fabric
Lay your fabric face down on your workspace. Place a pumpkin in the center, and cut a large square or circle of fabric—big enough to wrap completely around the pumpkin. You’ll want several extra inches of fabric around the edges so you can tuck it into the top easily.
Tip: Homespun or flannel fabric works beautifully because it drapes well and adds that soft, cozy look.
Step 3: Wrap and Tuck
Center the pumpkin on your fabric piece. Begin pulling the fabric up and over the pumpkin, tucking it neatly into the stem opening as you go. You can use a small tool like a popsicle stick or the end of a paintbrush to help push the fabric into the creases and around the stem area.
If the stem is too short, remove it temporarily so you can tuck the fabric tightly, then reattach it later with hot glue.
Secure any loose ends with a bit of glue underneath the folds. The idea is to create a gathered, natural look—imperfection adds charm!
Step 4: Paint the Stems (Optional)
Once your fabric is in place, you can customize the pumpkin stems to fit your decor. A little acrylic paint goes a long way—try rustic brown, weathered gray, or even antique gold for a more farmhouse feel.
For a natural look, lightly brush on the paint and wipe away the excess to give it a distressed finish.
Step 5: Add Twine and Ribbon
Now comes the fun part—embellishing your pumpkins! Wrap twine around the stem several times and tie it in a bow. Add a ribbon or a small bit of lace for texture and charm. You can even glue on small faux leaves, buttons, or wooden tags if you want to personalize them.
The twine gives that perfect farmhouse touch and helps hide any rough fabric edges near the top.
Step 6: Style and Display
Once your plaid pumpkins are finished, find a cozy spot to show them off! Arrange them on a wooden tray, line them across your mantle, or group them on your porch steps alongside candles and pinecones.
Their soft plaid texture and rustic color make them a perfect accent for autumn decorating—and the best part is, they’ll last year after year.
Why I Love This Project
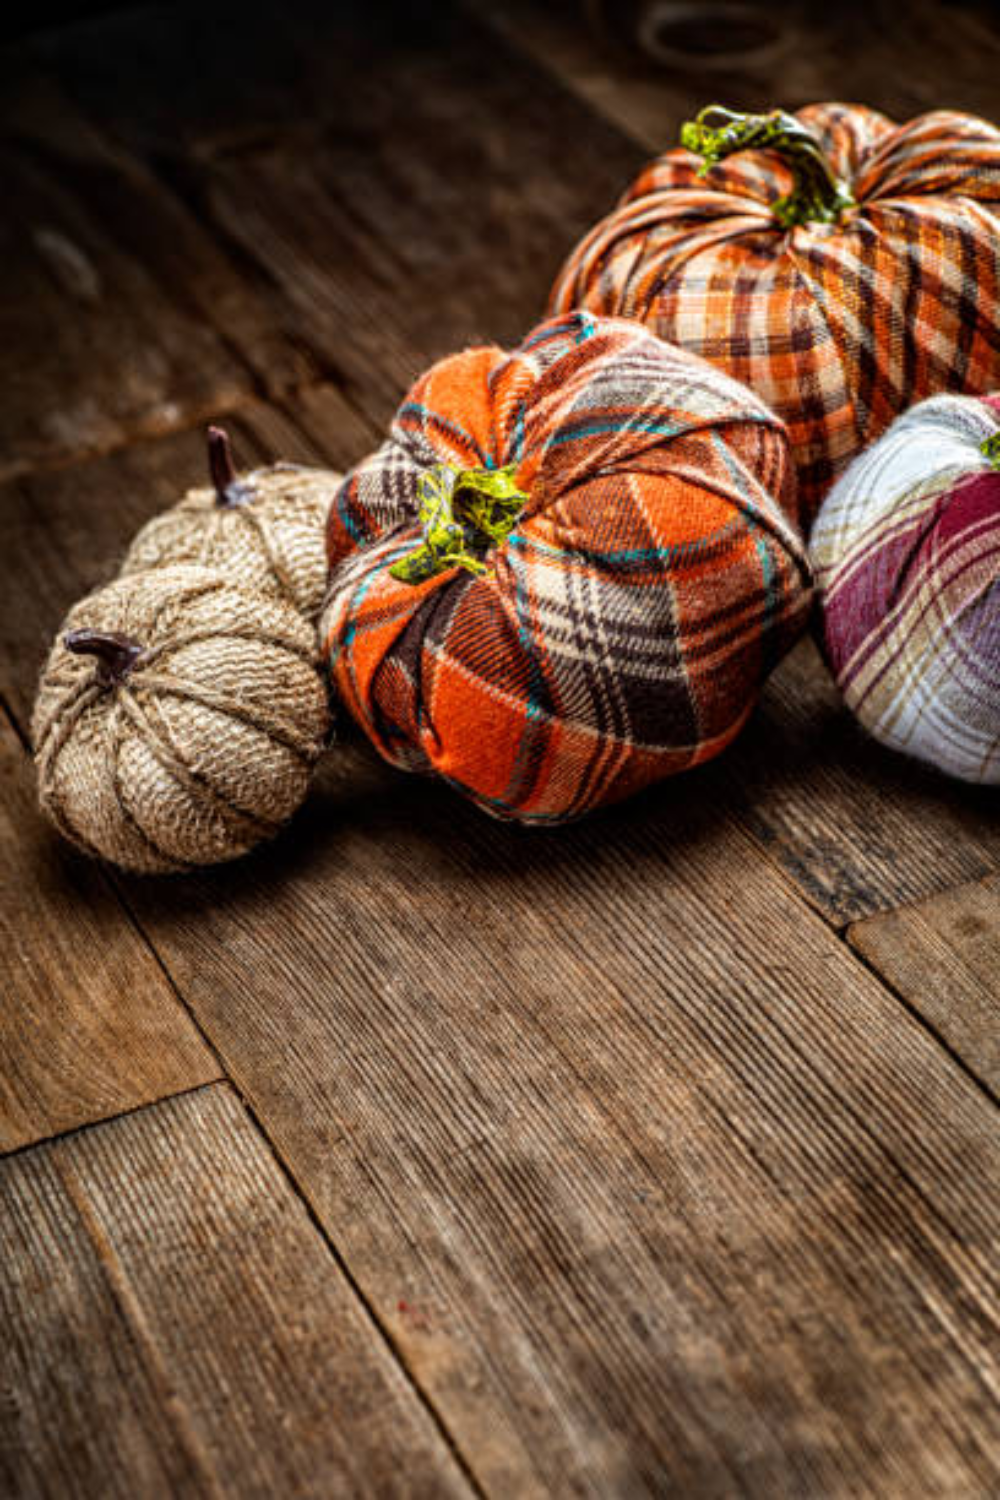
This is one of those simple crafts that feels rewarding because it combines creativity, sustainability, and that cozy, handmade feel. Repurposing plastic pumpkins not only saves money but also keeps them out of the landfill. And because the fabric wraps are easy to remove, you can even switch out the look each season.
Every time I make these, I’m reminded that a touch of fabric and twine can turn something ordinary into something truly special.
Conclusion
Making cozy plaid fabric pumpkins is one of those simple joys that captures the heart of fall. I love how this project blends creativity, thrift, and a touch of rustic charm—all the things that make homestead living so special. With just a few scraps of fabric and a little imagination, you can transform plain plastic pumpkins into timeless pieces of autumn decor that last year after year. Whether you’re dressing up your porch, brightening your kitchen table, or adding a handmade touch to your seasonal displays, these plaid pumpkins bring warmth and comfort to every corner of your home.
Resources: Here are some helpful resources for further information.
- 50 Rustic Home Decor Ideas to Fuel Your Daydreams – By Southern Living
- 48 Rustic Living Room Ideas for the Coziest Family Space – By Country Living Magazine
- Our Favorite Rustic Home Decor Ideas – By HGTV
Frequently Asked Questions
1. How much fabric do I need for each pumpkin?
It depends on the pumpkin’s size. For a small plastic pumpkin, a 14–16 inch square of fabric usually works well. For larger pumpkins, you might need 20–24 inches to wrap and tuck neatly. It’s always better to have a little extra fabric to work with.
2. Can I use other fabrics besides plaid?
Absolutely! Flannel, burlap, muslin, or even cotton in fall colors all work beautifully. The key is to use a fabric that’s soft enough to drape around the pumpkin smoothly.
3. Do I have to glue the fabric in place?
Not necessarily. You can simply tuck the fabric into the stem opening and secure it with twine or ribbon if you prefer a removable cover. Hot glue just gives a longer-lasting hold, especially for outdoor or long-term use.
4. What kind of paint works best for the stems?
Acrylic craft paint works great and dries quickly. For a rustic look, lightly brush it on and wipe away the excess for a distressed finish. You can also add a touch of metallic gold or bronze for a farmhouse-chic accent.
Summary
I hope I have inspired you to enjoy crafts and decor with these tips and products.
If you were encouraged by this post, I invite you to check out my FREE Printables Page for fun free printables, planners, and charts.
ENTER MY FREE Printables Page HERE
Here are some more of my gardening inspiration posts to check out!
Best Christmas Vintage Decor for Your Home
How to Create Your Cottagecore Aesthetic Dream Home
Ideas for Rustic Living Room Vibes You’ll Love All Year Round!
Blessings,
The Off Grid Barefoot Girl

