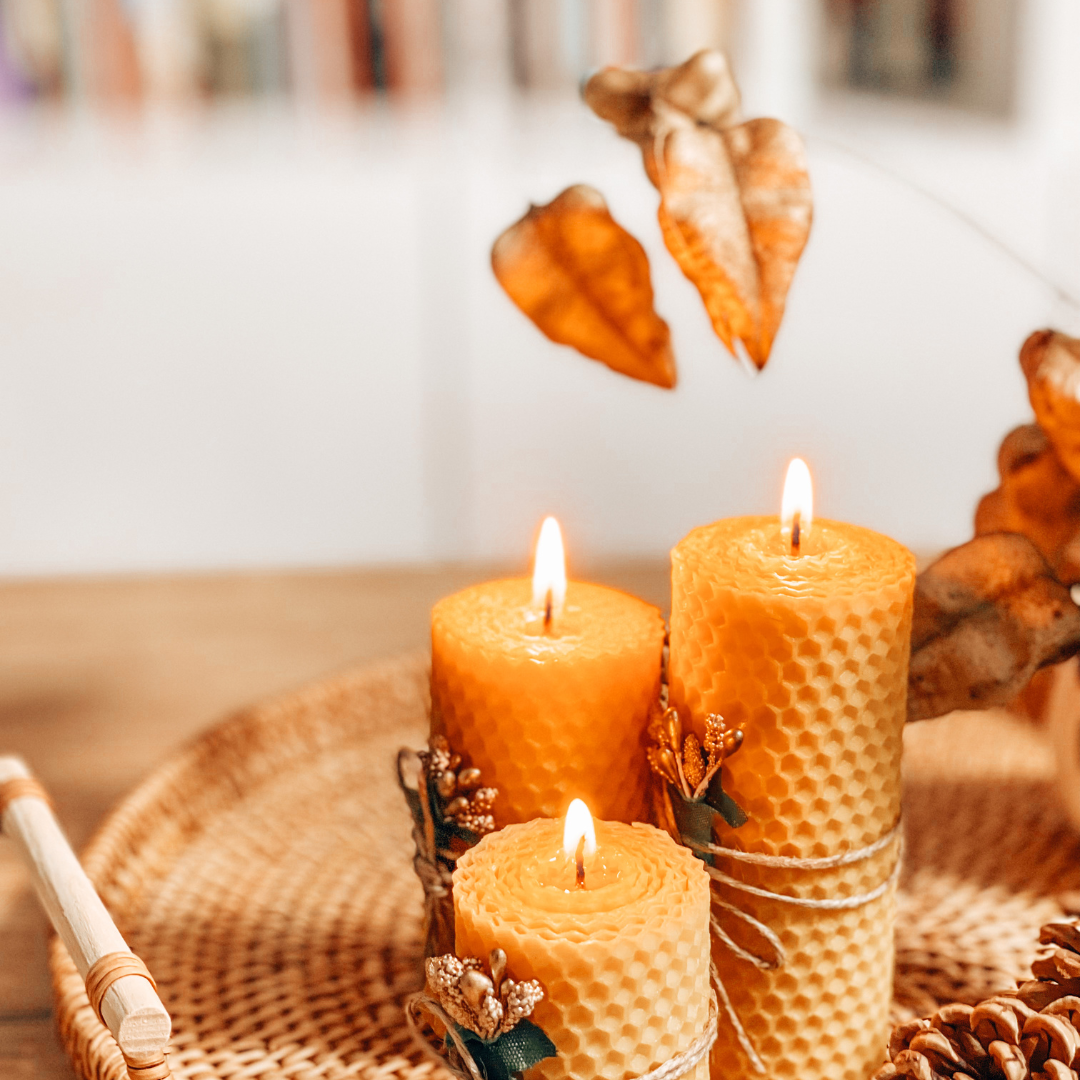
Learn how to make candles at home using simple ingredients and natural materials. This step-by-step guide will teach you how to create beautiful, long-lasting candles—perfect for cozy nights, gifts, or emergency lighting on your homestead.
There’s something timeless and comforting about the soft flicker of a handmade candle. Whether you’re preparing for power outages, creating a cozy atmosphere in your off-grid home, or simply wanting to ditch store-bought candles full of chemicals, making your own candles is surprisingly easy and rewarding. I’ll walk you through everything you need to know—from choosing the right wax and wicks to scenting and pouring your candles—so you can craft your own warm glow, one pour at a time.
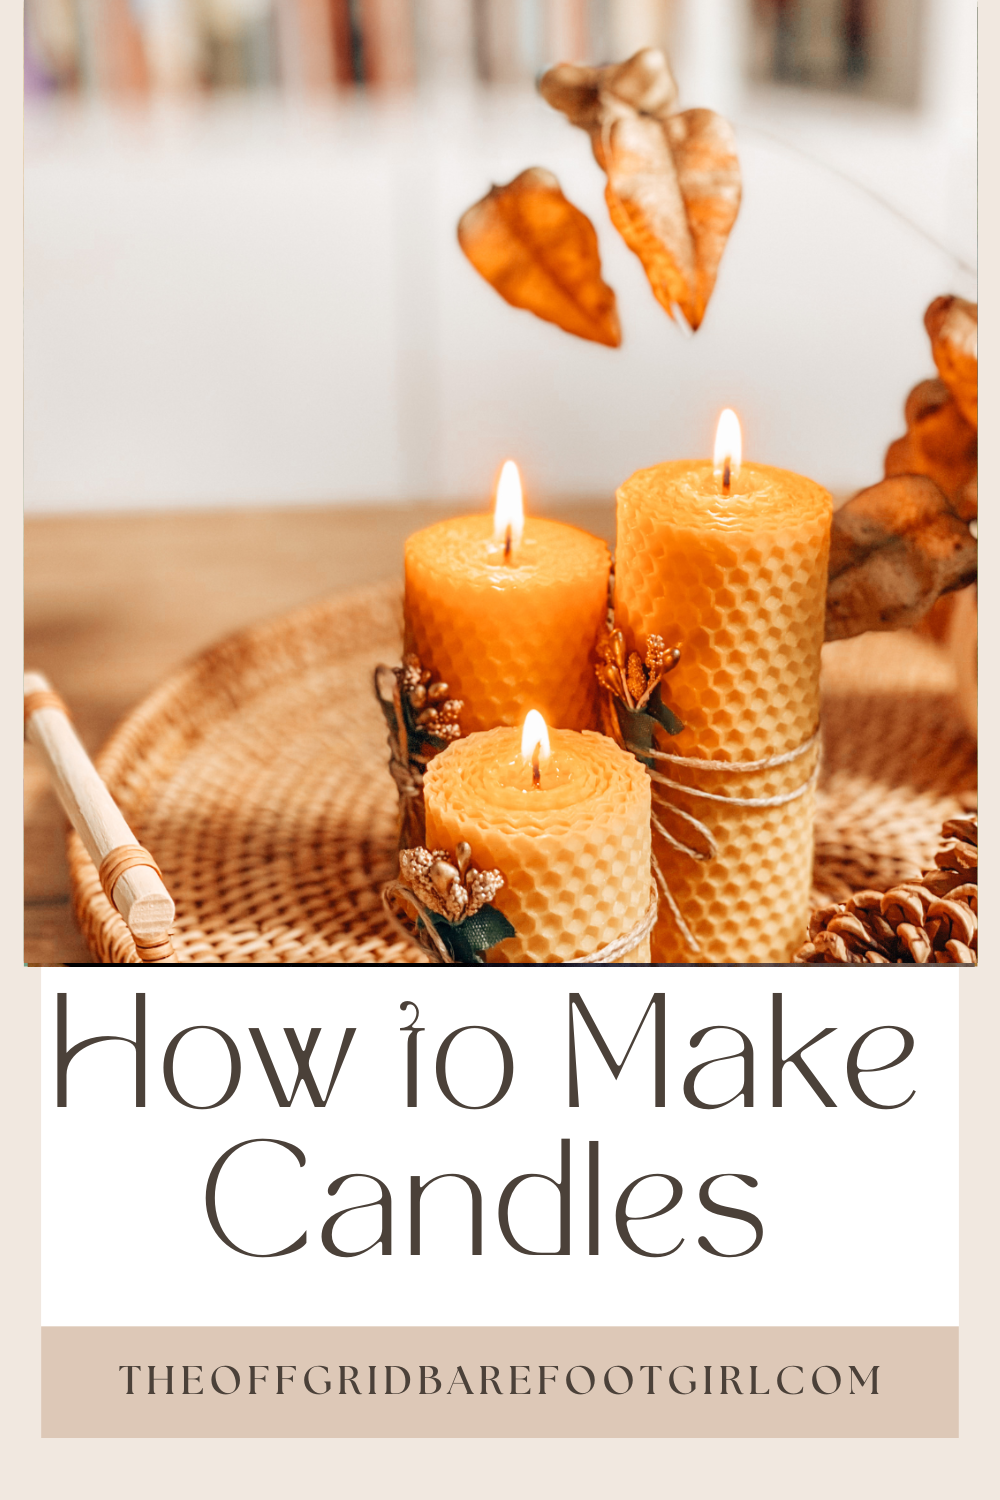
This is a pinnable post. Tap or hover over any image in this post to pin to your Pinterest Boards.
What You’ll Need to Make Candles
You only need a few basic supplies to get started, and the great news is they’re easy to find, affordable, and perfect for beginners. With just some wax, wicks, containers, and a few simple tools, you can start creating beautiful, homemade candles in no time. I recommend starting with these essentials because they simplify the process, help you learn the basics without feeling overwhelmed, and give you the flexibility to experiment with scents, colors, and styles as you get more confident. Plus, most of these supplies are available on Amazon or at your local craft store, so you don’t have to hunt far and wide to begin your candle-making journey.
Supplies:
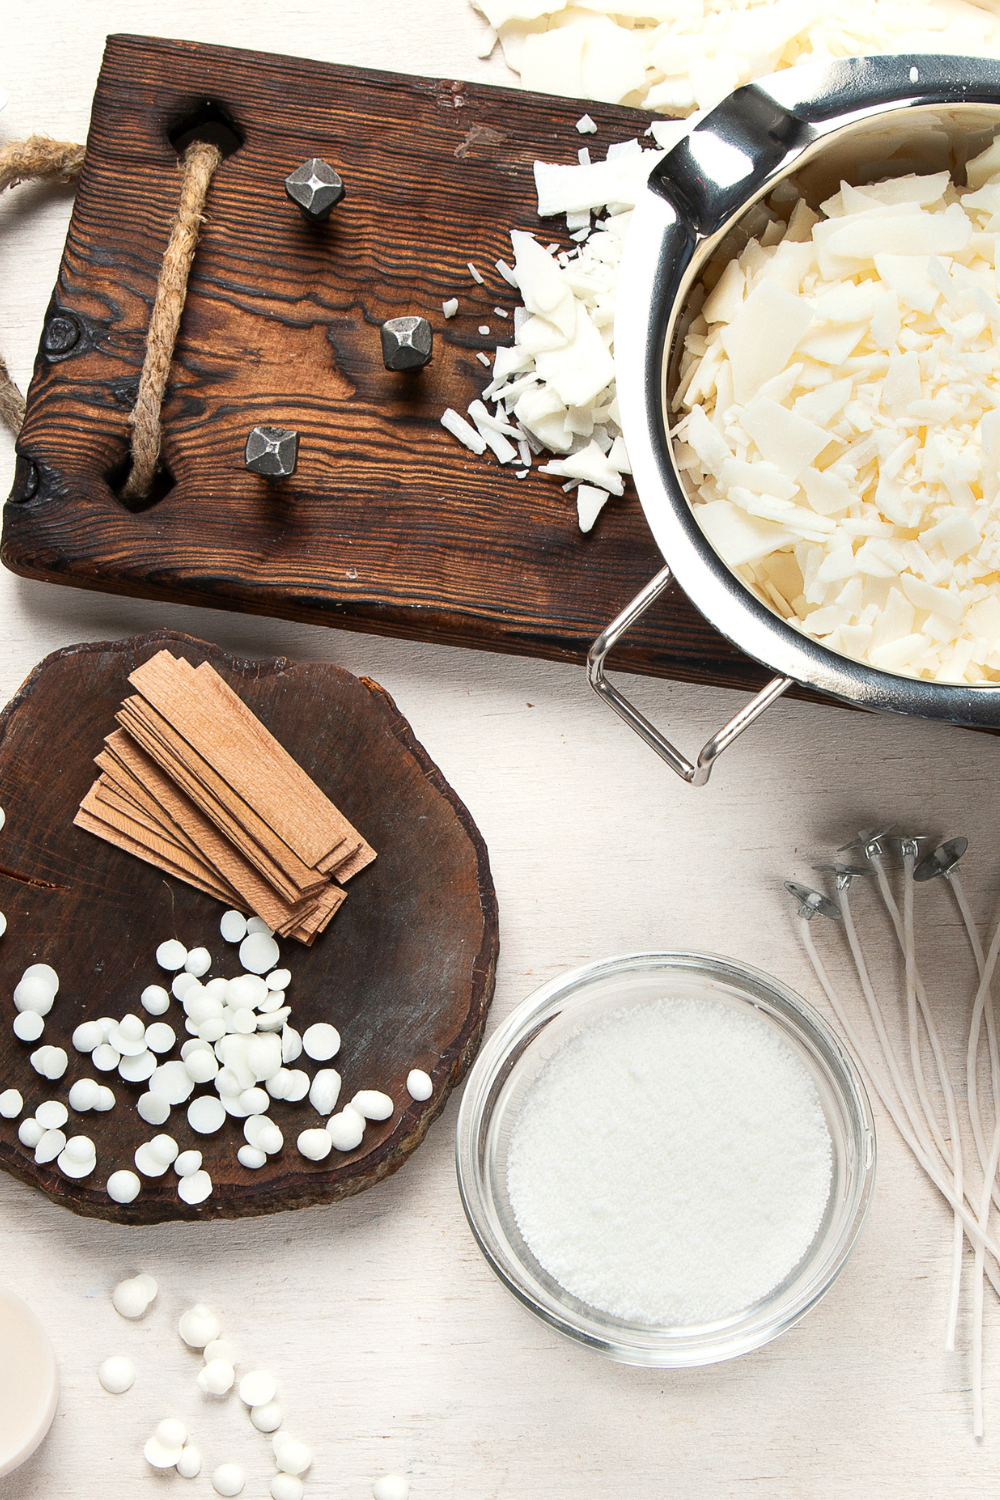
- Wax – Soy wax flakes are beginner-friendly and eco-friendly.
- Wicks – Cotton or wood wicks both work great.
- Candle jars or containers – Mason jars, teacups, or recycled jars work beautifully.
- Fragrance oil or essential oils – Choose scents like lavender, vanilla, or cinnamon.
- Wick stickers or hot glue – To hold the wick in place.
- Pouring pot or double boiler – You can use a heat-safe pouring pot or make your own double boiler.
- Thermometer – To check wax temperature before pouring.
- Stirring utensil – A wooden stick or spoon just for candle use.
Optional but nice:
Candle Making Kits
SAEUYVB Complete Candle Making Kit – Everything You Need to Start
The SAEUYVB Complete Candle Making Kit is perfect for beginners and experienced DIYers alike. This all-in-one set comes with a hot plate and all the essential candle-making supplies, so you can start creating beautiful, fragrant candles right away. It’s ideal for making home decorations, personalized gifts, or simply enjoying a relaxing hands-on activity. With everything included, you don’t need to search for individual supplies, making it a convenient and practical choice for anyone wanting to dive into candle-making.
Candle Making Kit – Complete DIY Set for Beginners
The Candle Making Kit with Digital Soy Wax Melt Warmer is an excellent choice for adults and beginners looking to explore candle-making. This complete kit includes everything you need to create scented candles and wax melts, along with a digital warmer to make melting and pouring simple and precise. It’s perfect for crafting personalized gifts, home décor, or just enjoying a relaxing DIY activity. With all the supplies thoughtfully included, this kit makes it easy to start your candle-making journey without any guesswork.
SAEUYVB Complete Candle Making Kit – All-in-One Starter Set
The SAEUYVB Complete Candle Making Kit is a great option for beginners and experienced crafters alike. It comes with a hot plate and all the essential supplies you need to start making candles right away. This kit is perfect for creating homemade candles for home décor, gifts, or simply enjoying a relaxing DIY project. With everything included in one set, you can skip the hassle of sourcing materials separately and start crafting beautiful, fragrant candles immediately.
How to Make Candles
Step 1: Prepare Your Workspace
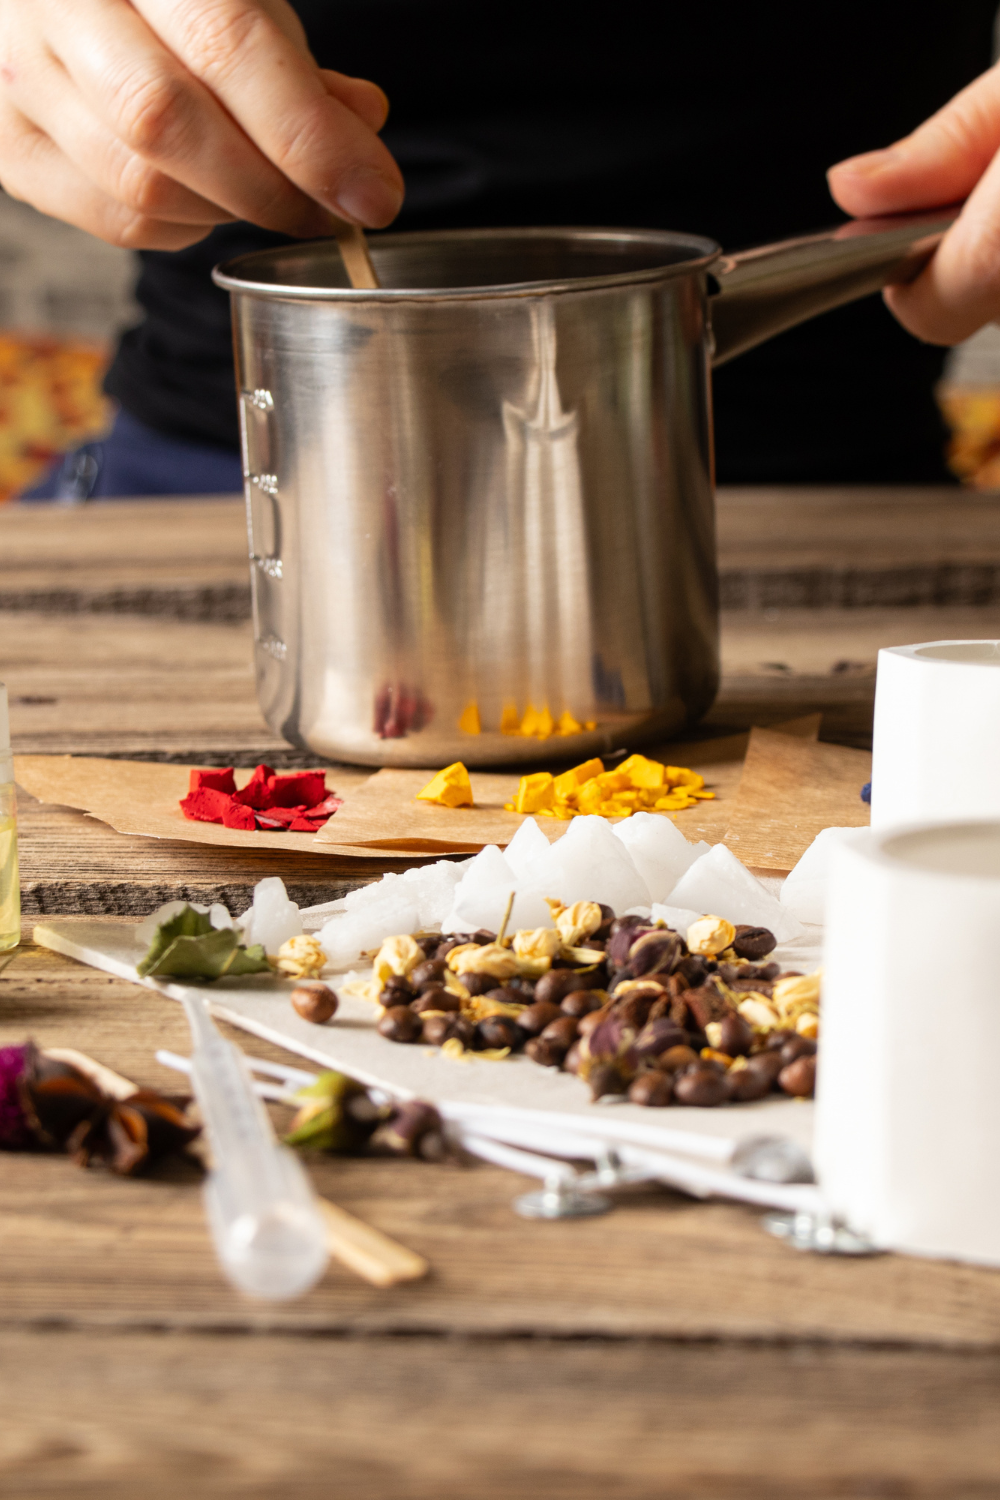
Before you start melting wax, get everything set up. Making candles can get a little messy, so cover your surface with parchment paper or an old towel.
Set out your jars, wicks, and thermometer. Stick your wick to the bottom center of each jar using a wick sticker or a small dab of hot glue. Use chopsticks or wick holders across the top of your jars to keep the wick standing straight.
Tip: If you’re reusing jars, make sure they’re completely clean and dry before pouring your wax.
Step 2: Melt the Wax
Fill your pouring pot with the amount of wax you need — about 1 pound of wax makes roughly two 8-ounce candles.
Place your pot inside a larger pot with a few inches of water to create a double boiler. Slowly heat the water on low to medium heat, stirring the wax occasionally until it melts completely.
Soy wax melts around 120–180°F, depending on the brand. Watch your thermometer and avoid overheating.
When the wax is fully melted and clear, remove it from the heat.
Step 3: Add Fragrance and Color (Optional)
Once the wax cools to about 150–160°F, it’s time to add your fragrance oil or essential oil.
The general rule is 1 ounce of fragrance per 1 pound of wax, but you can adjust based on how strong you want your scent. Stir slowly for a minute or two to ensure it blends evenly.
If you want colored candles, this is also the time to add dye chips or mica powder. Stir gently until the color looks even.
My favorite combinations:
- Lavender + Vanilla for relaxing evenings.
- Cinnamon + Orange for fall coziness.
- Eucalyptus + Peppermint for a clean, refreshing scent.
Step 4: Pour the Wax
When your wax cools to about 135–145°F, carefully pour it into your jars. Pour slowly to avoid bubbles, and leave about half an inch at the top of each jar.
Let the candles sit undisturbed for several hours until they start to solidify. You’ll see the wax change from clear to creamy.
If you notice small sinkholes forming in the center, you can reheat a bit of leftover wax and pour a thin layer on top to smooth it out.
Step 5: Let Your Candles Cure
Patience pays off here! Allow your candles to cure for at least 24–48 hours before lighting. This helps the scent distribute evenly through the wax and improves burn quality.
Once cured, trim your wick to about ¼ inch before lighting.
Step 6: Enjoy or Gift Your Handmade Candles
Now for the best part — light one up and enjoy that warm, handmade glow! You’ll notice how clean they burn compared to store-bought candles, and you’ll feel proud knowing you made it yourself.
Homemade candles also make wonderful gifts for holidays, birthdays, or just because. Add a handmade tag or tie a bit of twine around the jar for a rustic touch.
Candle-Making Tips for Beginners
- Test burn your first candle. It’ll help you learn how wick size and scent load affect performance.
- Keep notes. Write down wax type, wick size, and fragrance amount for each batch.
- Store candles in a cool, dark place. This preserves scent and color.
- Try natural additions. Dried herbs, cinnamon sticks, or pressed flowers make lovely decorative touches (just keep them away from the flame).
Why I Love Making Candles Off the Grid
Living off the grid, power can be unpredictable — and that’s where my candle stash truly shines. But beyond practicality, making candles connects me to something simpler. It’s meditative, creative, and helps me use what I already have.
There’s nothing quite like lighting a handmade candle while the evening settles in, knowing you made that light yourself!
Conclusion
Candle making is one of those skills that fits beautifully into a self-sufficient lifestyle — it’s practical, creative, and deeply satisfying. Once you master the basics, you can experiment with new scents, colors, and containers to fit your mood or season.
So next time you’re craving a cozy glow or need a homemade gift idea, grab your supplies and make your own batch of candles. You’ll find it’s easier (and more rewarding) than you think!
Learn how to make your home more eco-friendly and creative by visiting my full guide to eco-friendly living at home for practical tips throughout your household.
Resources: Here are some helpful resources for further information.
- 50 Rustic Home Decor Ideas to Fuel Your Daydreams – By Southern Living
- 48 Rustic Living Room Ideas for the Coziest Family Space – By Country Living Magazine
- Our Favorite Rustic Home Decor Ideas – By HGTV
Frequently Asked Questions
1. How long does it take to make homemade candles?
From start to finish, making candles takes about 1 to 2 hours, depending on how many you’re making. The wax melts and pours quickly, but you’ll want to let your candles cure for at least 24 hours before burning for the best scent and performance.
2. What temperature should I pour candle wax at?
The ideal pouring temperature depends on your wax type, but for soy wax, aim for around 135–145°F (57–63°C). Pouring too hot can cause cracks or frosting, while pouring too cool can create bubbles or uneven texture.
3. Can I use essential oils instead of fragrance oils?
Yes! Essential oils are a wonderful natural option, though the scent won’t be as strong or long-lasting as synthetic fragrance oils. Try blending oils like lavender and vanilla or peppermint and eucalyptus for a balanced, natural scent.
4. How do I fix sinkholes or cracks in my candles?
If you notice small sinkholes or cracks after your candles cool, simply reheat a little leftover wax and pour a thin layer over the top to smooth it out. It’s an easy fix and completely normal—especially for soy wax.
Summary
I hope I have inspired you to enjoy crafts and decor with these tips and products.
If you were encouraged by this post, I invite you to check out my FREE Printables Page for fun free printables, planners, and charts.
ENTER MY FREE Printables Page HERE
Here are some more of my gardening inspiration posts to check out!
Best Christmas Vintage Decor for Your Home
How to Create Your Cottagecore Aesthetic Dream Home
Ideas for Rustic Living Room Vibes You’ll Love All Year Round!
Blessings,
The Off Grid Barefoot Girl

