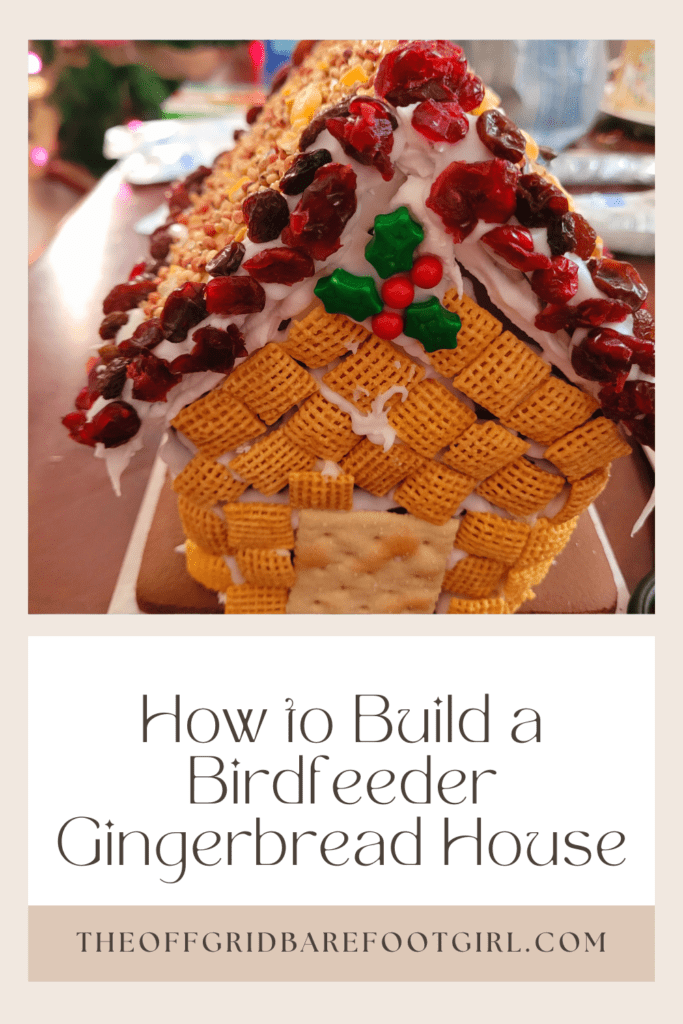
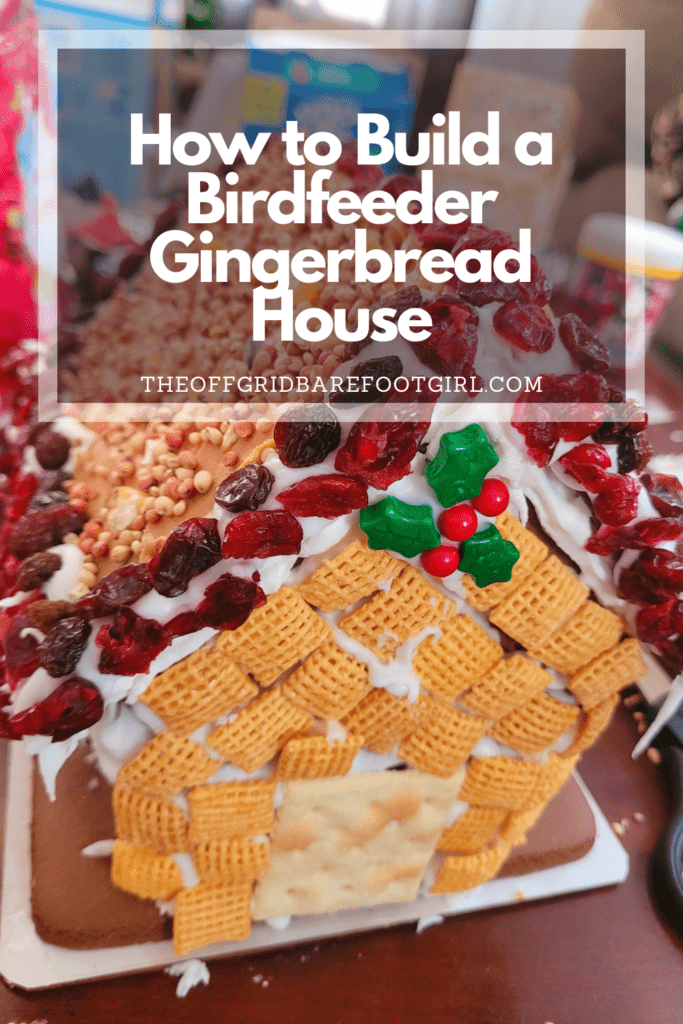
Birdfeeder gingerbread house.
What Is Included in This Post:
- Introduction: The Joy of Building a Birdfeeder Gingerbread House
- Gathering the Necessary Materials and Tools
- Step-by-Step Instructions for Constructing the Gingerbread Base
- Creating the Birdfeeder Components: Roof, Walls, and Chimney
- Decorating the Gingerbread House with Edible Bird-Friendly Elements
- Assembling the Birdfeeder Gingerbread House: Tips and Tricks
- Placing and Maintaining the Birdfeeder In Your Garden or Backyard
- Conclusion: Enjoying the Beauty of Nature with Your Homemade Birdfeeder Gingerbread House
- Frequently Asked Questions
Discover the delightful fusion of creativity and nature by building your very own birdfeeder gingerbread house. This unique project allows you to combine the art of gingerbread construction with the joy of bird-watching. Not only will you have a charming and edible masterpiece, but you’ll also create a functional birdfeeder that will attract and nourish our feathered friends. In this article, I will guide you through the process of building a birdfeeder gingerbread house, from gathering the materials to decorating and assembling the final product. Get ready to embark on a rewarding adventure that brings the wonders of nature to your doorstep!
This is a pinnable post. Tap or hover over any image in this post to pin to your Pinterest Boards.

Introduction: The Joy of Building a Birdfeeder Gingerbread House
Exploring the Intersection of Creativity and Nature
Are you ready to embark on a delightful journey that combines the joy of building with the wonders of nature? If so, it’s time to dive into the world of birdfeeder gingerbread houses! These adorable structures not only satisfy your creative cravings, but also provide a much-needed refuge for our feathered friends. It’s a win-win situation that brings together the best of both worlds – the whimsy of gingerbread and the beauty of nature.
Repurposing a Used Gingerbread House for a Birdfeeder
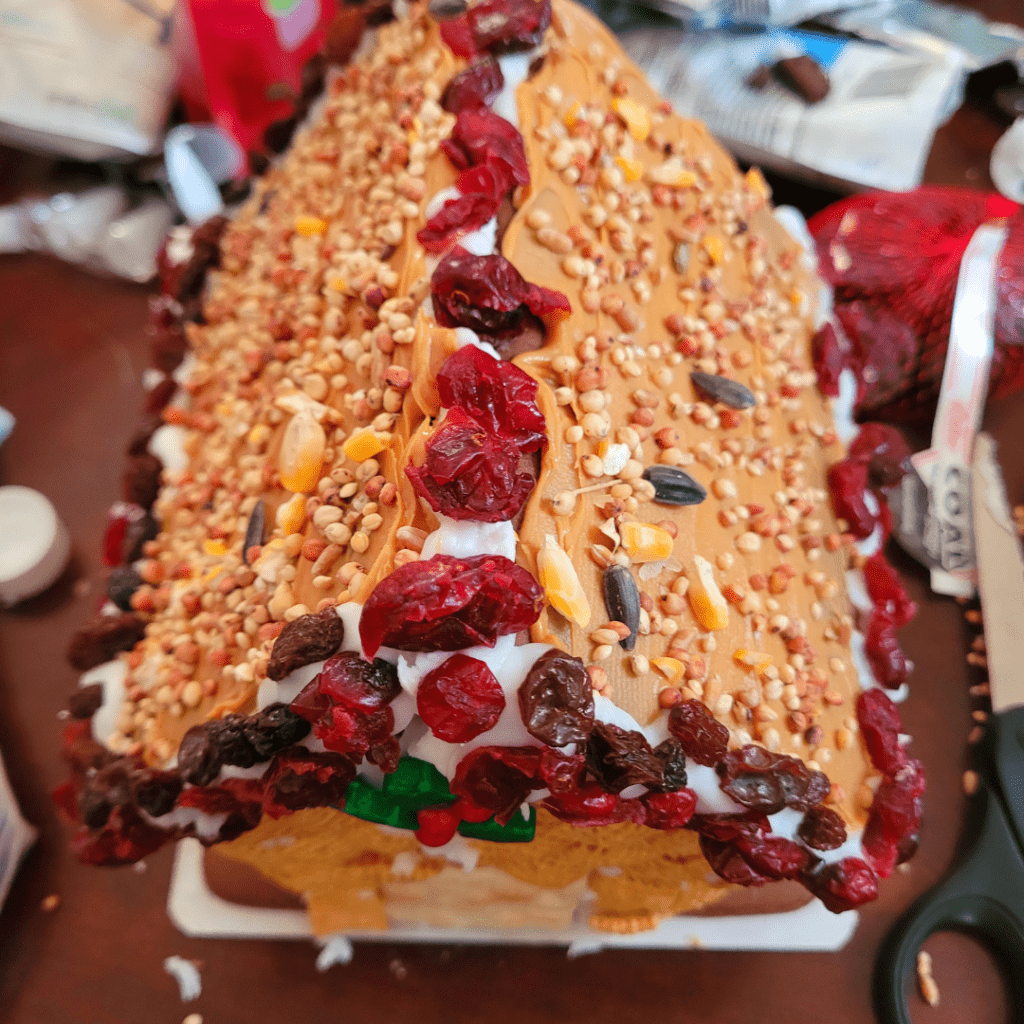
Give your old gingerbread house a new lease on life by transforming it into a charming birdfeeder. Instead of letting the festive creation go to waste after the holidays (nobody really eats them anyway), repurposing it for feathered friends adds a touch of whimsy to your garden while providing a sustainable solution. Clean off any remaining icing and decorations, spread on some peanut butter with sprinkled birdseed, and simply place the gingerbread house in your yard or hang it from a branch. The nooks and crannies of the gingerbread structure offer perches and shelter for birds, turning it into a cozy haven. As the birds feast on seeds and enjoy the shelter, you’ll not only contribute to their well-being, but also add a delightful, eco-friendly element to your outdoor space. It’s a simple yet creative way to continue the holiday spirit while fostering a connection with nature throughout the year.
Benefits of Building a Birdfeeder Gingerbread House
Building a birdfeeder gingerbread house offers numerous benefits beyond just the sheer satisfaction of crafting something with your own hands. It allows you to connect with wildlife and become a part of their daily lives. By providing a food source for birds during the winter months, you’re helping them thrive and survive in colder climates. Plus, let’s be honest, watching birds flock to your creation is a joy in itself. So, put on your creative hat and get ready to embark on a rewarding and delicious adventure!
Gathering the Necessary Materials and Tools
A Comprehensive List of Required Ingredients
Before you dive into the delightful task of construction, let’s gather the necessary ingredients. You’ll need gingerbread dough (store-bought or homemade), icing sugar, assorted whole grain cereals, and most importantly, bird-friendly treats like seeds, nuts, and dried fruit. It’s essential to choose treats that are safe and nutritious for our avian friends. After all, you want your birdfeeder gingerbread house to be both aesthetically pleasing and a source of sustenance!
Essential Tools for Gingerbread Construction
Now that you have your ingredients in order, it’s time to assemble your tools. Get yourself a rolling pin, cookie cutters in various shapes and sizes (house-shaped, roof-shaped, and whatever other creative shapes you fancy), a sharp knife, a piping bag or plastic bag for icing, and some parchment paper for baking. With these tools at your disposal, you’ll be prepared to tackle any gingerbread conundrum that comes your way. (Or use a gingerbread house kit or a repurposed gingerbread house, don’t worry, I won’t tell anyone!)
Step-by-Step Instructions for Constructing the Gingerbread Base
Mixing and Rolling Out the Gingerbread Dough
First things first, it’s time to get your hands dirty! Mix up your gingerbread dough according to the recipe or instructions provided. Once your dough is ready, lightly flour a clean surface and roll it out to a thickness of about ¼ inch. This will form the foundation of your birdfeeder gingerbread house.
Cutting and Shaping the Base Pieces
Using your house-shaped cookie cutter, cut out two identical pieces for the front and back of your birdfeeder. Then, using a smaller cutter or a knife, cut out two more pieces for the sides. Don’t forget to cut out a base piece as well, which will serve as the platform for your feathered visitors.
Baking the Gingerbread Base to Perfection
Place your gingerbread pieces on a parchment-lined baking sheet and pop them into a preheated oven. Bake them until they turn golden brown and fill your kitchen with the delightful aroma of ginger and spices. The exact baking time will depend on your recipe, so keep a close eye on them to avoid any burnt surprises.
Creating the Birdfeeder Components: Roof, Walls, and Chimney
Designing and Cutting the Roof Pieces
To create a sturdy and delicious roof, use your roof-shaped cookie cutter to cut out two pieces from your rolled-out gingerbread dough. These pieces should have the same dimensions to ensure a snug fit on top of your birdfeeder. Remember, birds appreciate craftsmanship too, so make sure your roof is as aesthetically pleasing as it is secure!
Constructing the Sturdy Gingerbread Walls
Using the remaining gingerbread dough, cut out two additional pieces for the walls of your birdfeeder. These pieces should be tall enough to accommodate your feathered visitors and sturdy enough to withstand their enthusiastic pecks. Attach the walls to the base using your icing sugar “glue” and let it set before moving on to the final touch.
Adding a Decorative Chimney
No gingerbread house is complete without a charming chimney, and your birdfeeder gingerbread house is no exception! Use small pieces of gingerbread or candies to construct a whimsical chimney that will add character to your creation. Remember, birds appreciate attention to detail as much as we do!
Decorating the Gingerbread House with Edible Bird-Friendly Elements

Decorating your gingerbread house is where the fun really begins! Get creative and add some bird-friendly elements to make your birdfeeder gingerbread house truly special.
Using Peanut Butter and Candies to Add Color and Texture
When it comes to decorating, let your imagination soar! Use peanut butter to create intricate designs, like shingles on the roof or patterns on the walls. Don’t forget to add some colorful seeds to bring your gingerbread house to life. Just make sure the seeds you choose are safe for birds to consume. We don’t want any sugar-rushed feathered friends highly loaded on candies!
Incorporating Edible Birdseed for a Functional Touch
Why stop making your gingerbread house look pretty when you can also make it functional? Sprinkle some edible birdseed on the roof or around the base of the house. This way, when birds visit your creation, they’ll have a tasty treat to enjoy. It’s like having a built-in bird buffet!
Assembling the Birdfeeder Gingerbread House: Tips and Tricks
Now that your decorations are complete, it’s time to assemble your birdfeeder gingerbread house. Here are some tips and tricks to ensure it stays intact.
Properly Securing the Components Together
You wouldn’t want your gingerbread house to collapse like a stack of cards, so make sure you’re using a sturdy icing to hold everything together. A royal icing consistency will work wonders here. It’s strong enough to keep all the pieces in place, but also dries hard to provide structural support.
Reinforcing the Structure for Stability
To give your birdfeeder gingerbread house extra stability, consider adding extra support. You can use pretzel rods as columns or toothpicks to reinforce the corners. Just be careful not to poke any holes where the birds might get stuck! It’s all about finding that perfect balance between structural integrity and bird-friendly design.
Placing and Maintaining the Birdfeeder In Your Garden or Backyard
Now that your birdfeeder gingerbread house is constructed, it’s time to find the ideal spot for it in your garden or backyard.
Choosing the Ideal Location for Bird Activity
Birds appreciate a peaceful dining experience, so choose a quiet and secluded spot for your gingerbread creation. Look for a location that provides some protection from wind and rain, like under the eaves of your house or nestled amongst some bushes. This way, the birds can enjoy their meal without any unwanted surprises.
Regular Cleaning and Maintenance of the Birdfeeder
Just like any other bird feeder, your gingerbread house will need some regular TLC. Keep an eye out for any signs of wear and tear, and make sure to clean it properly to prevent any mold or bacteria growth. You wouldn’t want your feathered friends to have a stomachache from a dirty dining experience!
Conclusion: Enjoying the Beauty of Nature with Your Homemade Birdfeeder Gingerbread House
Congratulations, you’ve successfully built your very own birdfeeder gingerbread house!
The Satisfaction of Creating a Functional and Decorative Masterpiece
Not only have you created a stunning and whimsical decoration, but it also serves a purpose by providing food for our feathered friends. Double win!
Embracing the Joy of Bird-Watching and Nature Appreciation
Now that you have this bird-friendly haven in your garden, take the time to sit back, relax, and enjoy the beauty of nature. Grab a cup of cocoa, find a cozy spot, and watch as the birds flock to your gingerbread house. It’s a delightful way to connect with nature and appreciate the wonders of the avian world.
So go ahead, get your hands sticky with icing, and peanut butter, and have a blast building your birdfeeder gingerbread house. It’s a fun, creative, and tasty project that will bring joy to both humans and birds alike!
By completing your homemade birdfeeder gingerbread house, you have not only crafted a stunning and functional piece of art, but also created a haven for birds in your own backyard. As you admire your creation and observe the birds flocking to enjoy the nourishment it provides, take a moment to appreciate the beauty of nature and the joy it brings. Building a birdfeeder gingerbread house is a wonderful way to connect with nature, unleash your creativity, and make a positive impact on your local avian community. So, gather your materials, let your imagination soar, and enjoy the beauty and harmony that unfolds right outside your window!

Frequently Asked Questions
1. Can I use store-bought gingerbread dough for this project?
Yes, you can use store-bought gingerbread dough or kit if you prefer a more convenient option. Just make sure to follow the package instructions for rolling and baking the dough. However, if you have the time and inclination, making your own gingerbread dough from scratch can add a personal touch to your birdfeeder gingerbread house!
2. How long does it take for the icing to dry and harden?
The drying time for the icing can vary depending on the humidity and temperature of your environment. Generally, it can take anywhere from a few hours to overnight for the icing to fully dry and harden. To speed up the drying process, you can place the gingerbread house in a cool, dry area or use a fan to increase airflow.
3. Can I customize the design of my birdfeeder gingerbread house?
Absolutely! One of the joys of building a birdfeeder gingerbread house is the opportunity to let your creativity shine. Feel free to customize the design, colors, and decorations according to your preferences. You can even add personalized touches like miniature bird figurines or unique architectural details to make it truly one-of-a-kind.
4. How often should I clean and refill the birdfeeder?
Regular cleaning and maintenance are essential to keep the birdfeeder hygienic and safe for the birds. It is recommended to clean the birdfeeder every 1-2 weeks, or more frequently if it becomes visibly dirty or moldy. Additionally, check the birdseed regularly and refill it as needed to ensure a steady supply for the feathered visitors.
Summary
I hope I have inspired you to build your own birdfeeder gingerbread house for birds to feast on in the winter with these tips and products.
If you were encouraged by this post, I invite you to check out my FREE Printables Page for fun free printables, planners, and charts.
ENTER MY FREE Printables Page HERE
Here are some more of my composting and gardening inspiration posts to check out!
The Best Seedhead Plants for Birds
Winter Bird Baths: How to Winterize Your Bird Bath: Best Ice-Busting Techniques
Bird Nests: How to Make Your Own DIY Bird Nesting Balls
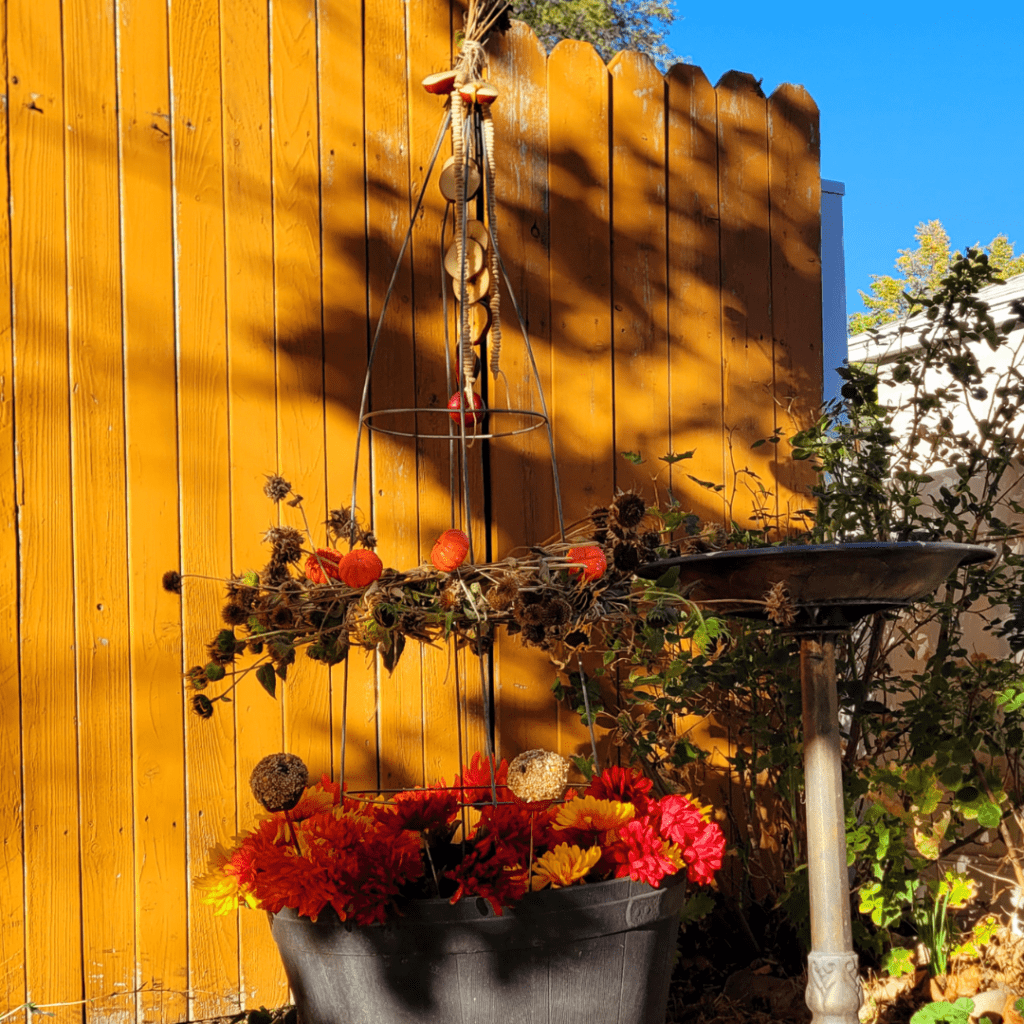
Bird Feeders: How to Make a Bird Feeder Obelisk Garden
Top 5 Affordable Bird Feeder Cameras Under $100
How to Grow a Fall Garden: 9 Best Fall Crops
How to Start Composting for the Garden: A Step-by-Step Guide
Blessings,
The Off Grid Barefoot Girl


